
White pail labelled epoxy coloured-quartz floor coating
Floor Coatings
Self-Leveling Epoxy Quartz Floor Coating
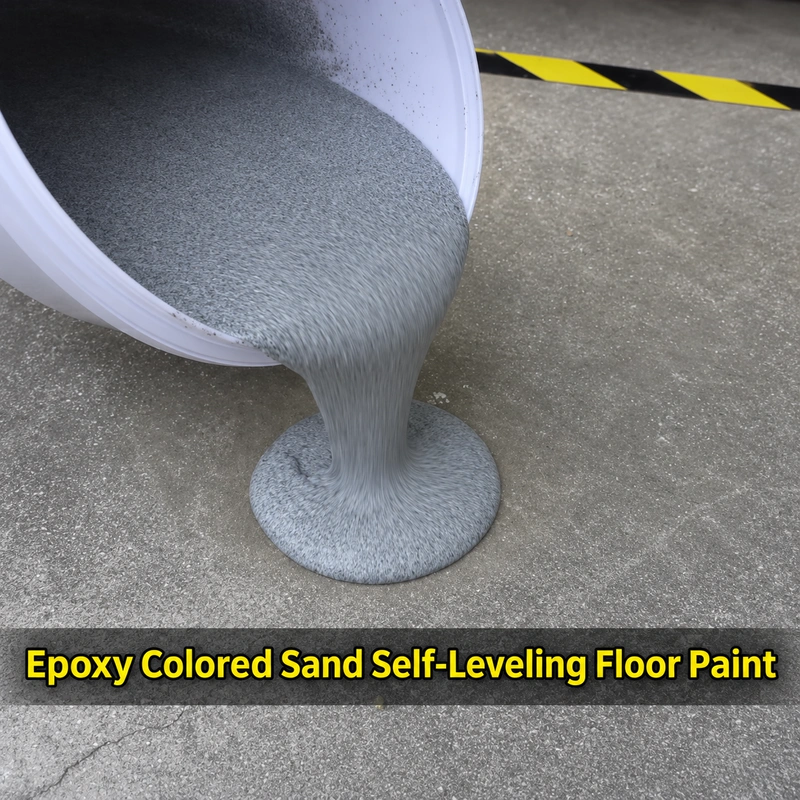
Create a decorative coloured-quartz finish on a prepared floor. This two-component, water-based epoxy coating is mixed with its matched hardener, poured and spread with a squeegee. Choose the colour and pack size around the substrate, appearance and area you need to coat.
- Pack sizes
- 1, 2, 5, 10, 20 and 50 kg; confirm the contents of the matched kit.
- Reference consumption
- Approximately 1.3 kg/m² for the coloured-quartz coating.
- Application window
- Complete application within 20 minutes of mixing.
A decorative finish for a prepared floor
The coating combines an epoxy binder with decorative coloured aggregate. It is intended for a continuous finish on sound, flat, clean and thoroughly dry concrete, cement, tile or marble. Self-leveling describes how the mixed coating flows; prepare uneven or damaged areas before coating.
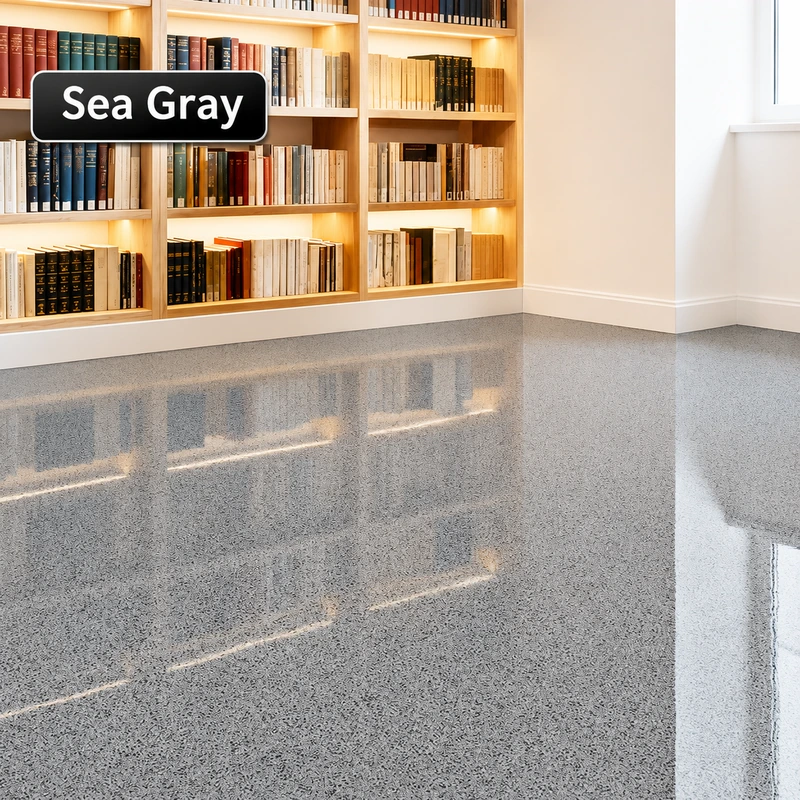
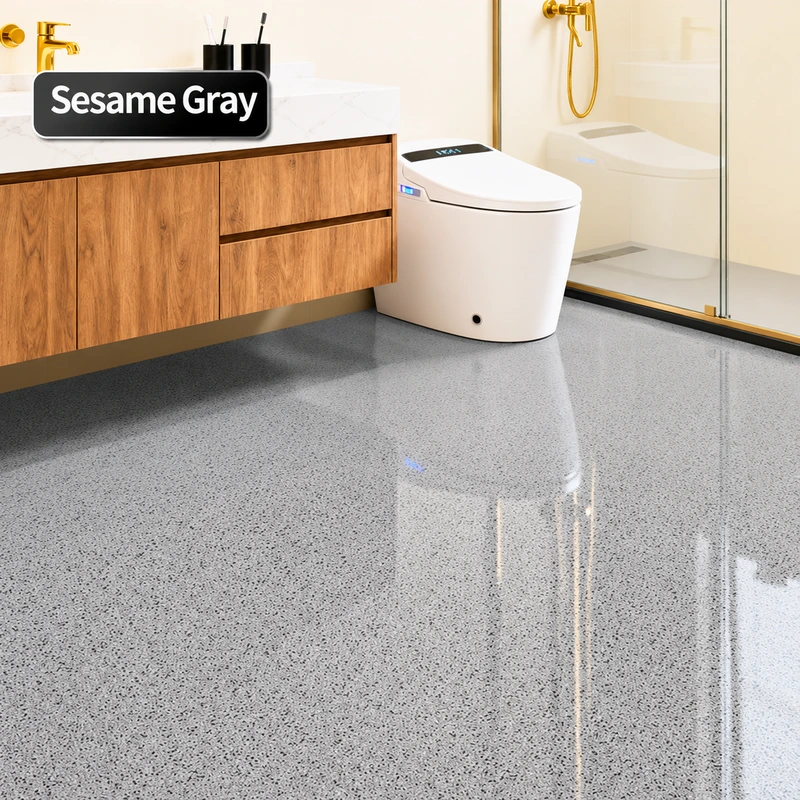
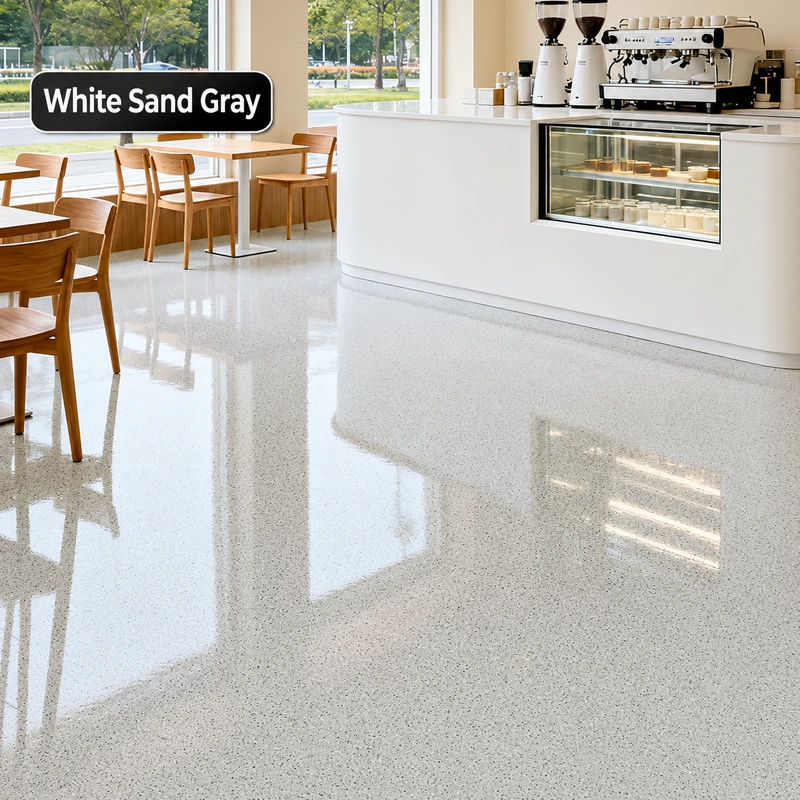
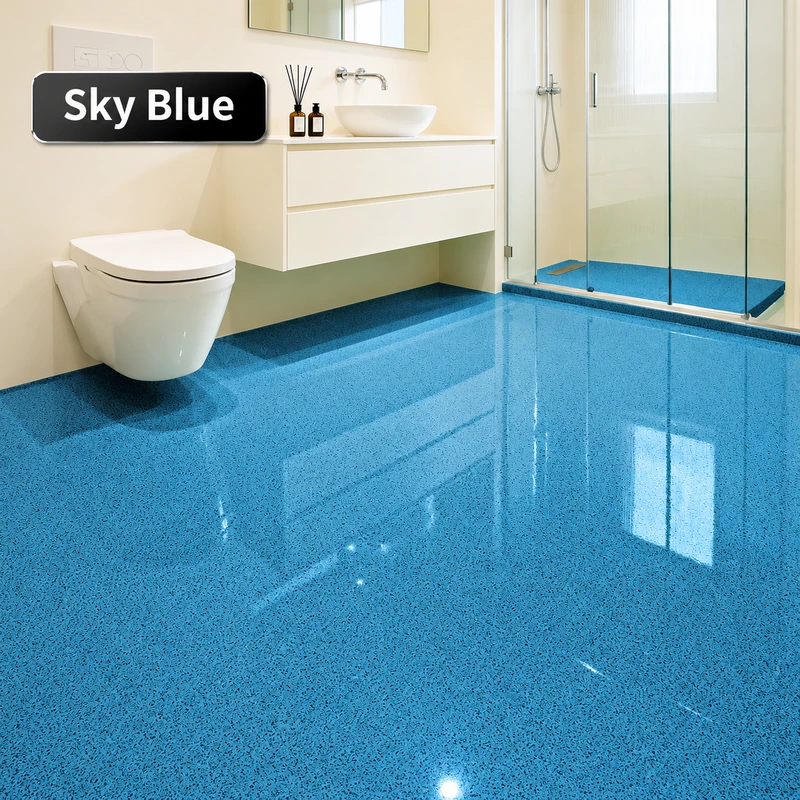
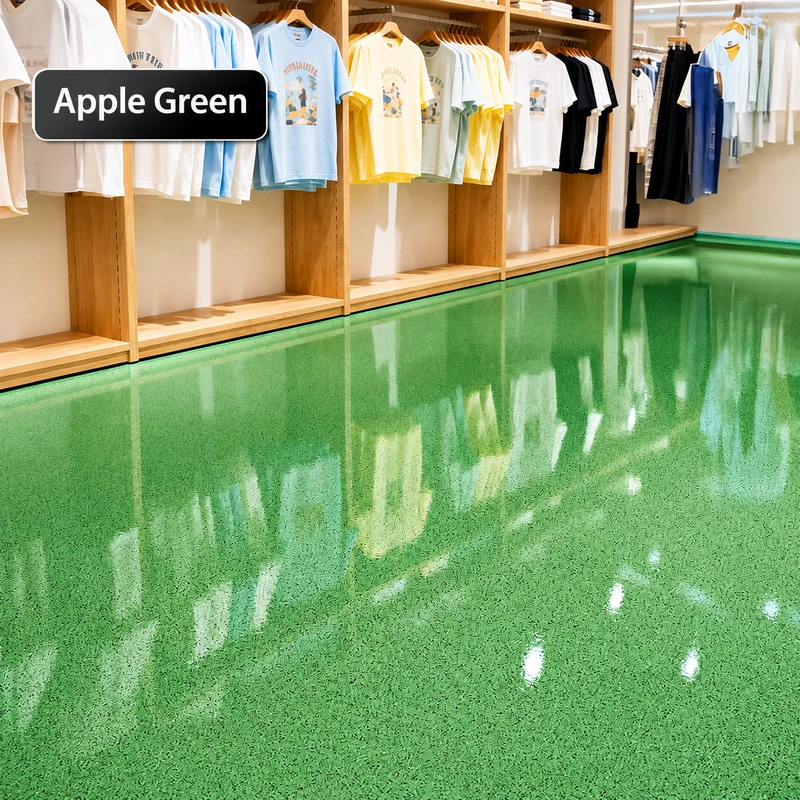
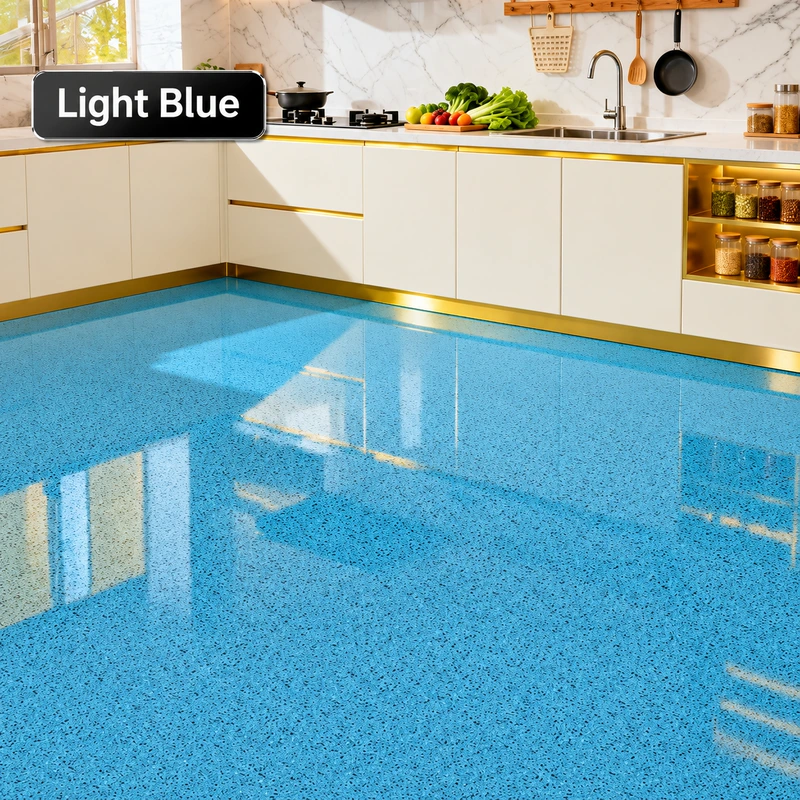
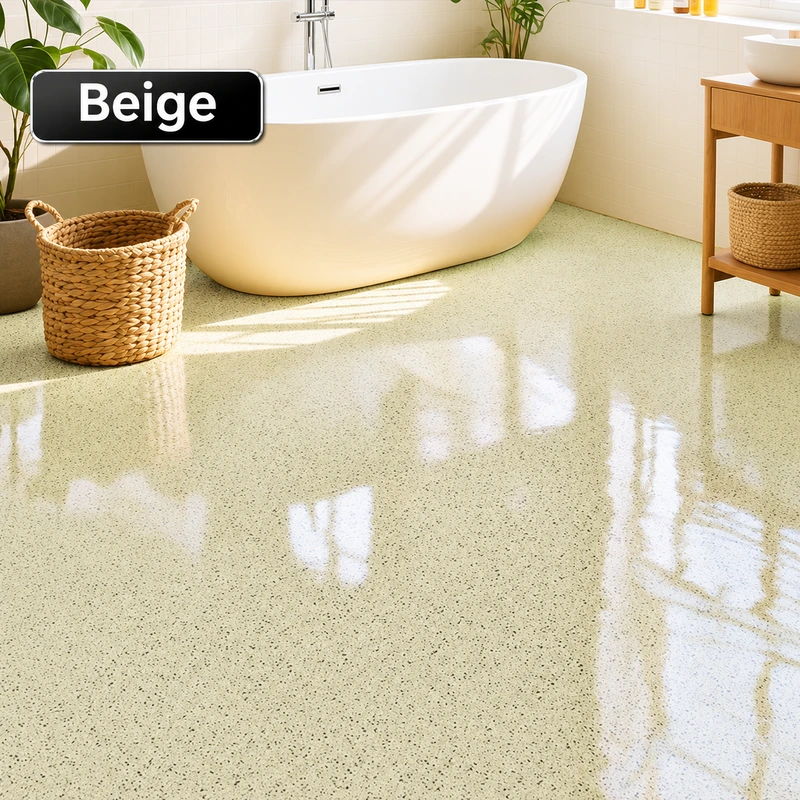
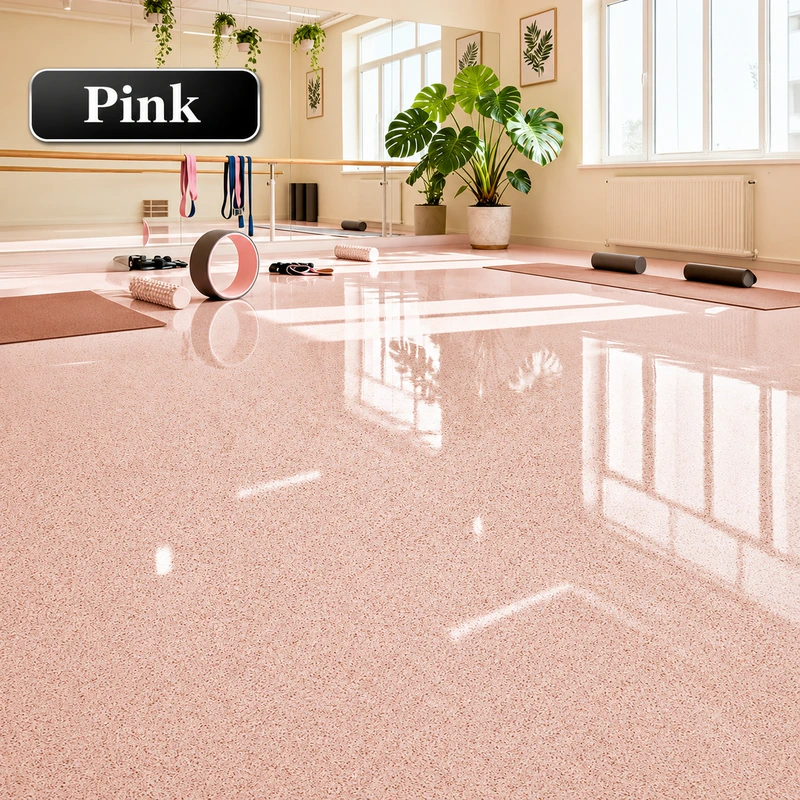
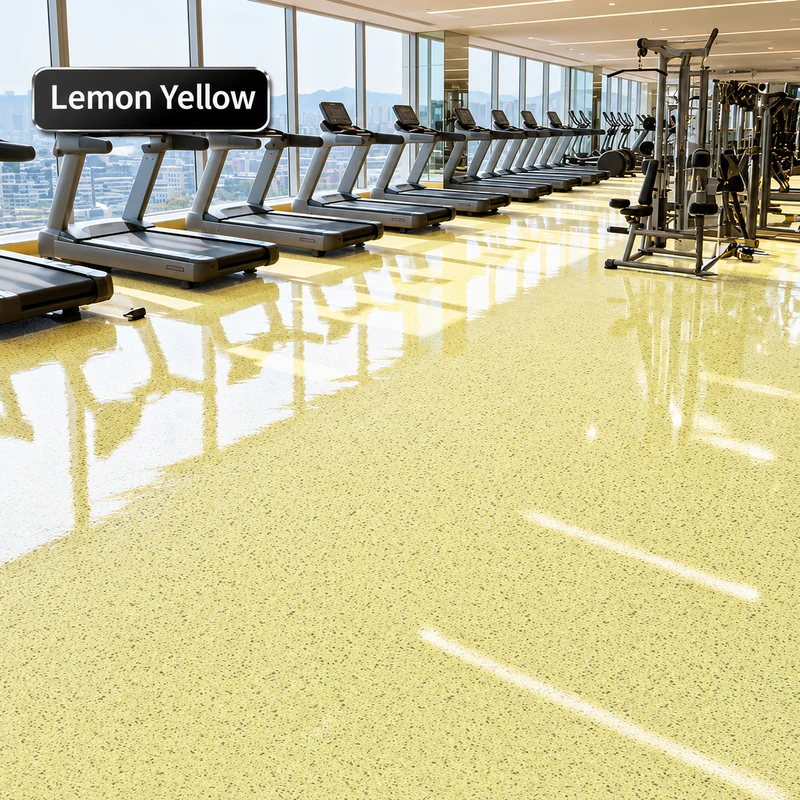
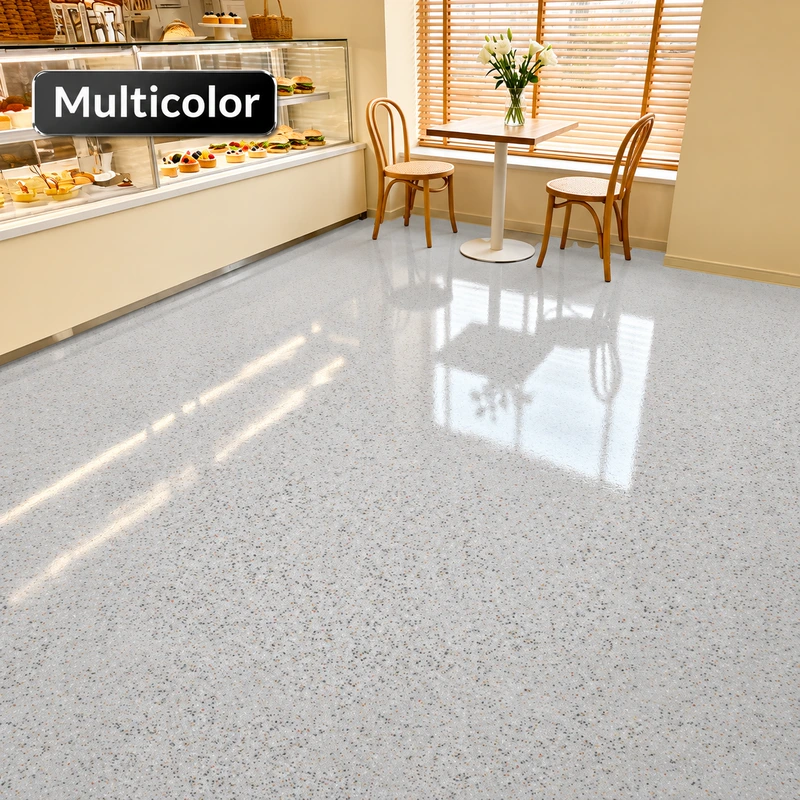
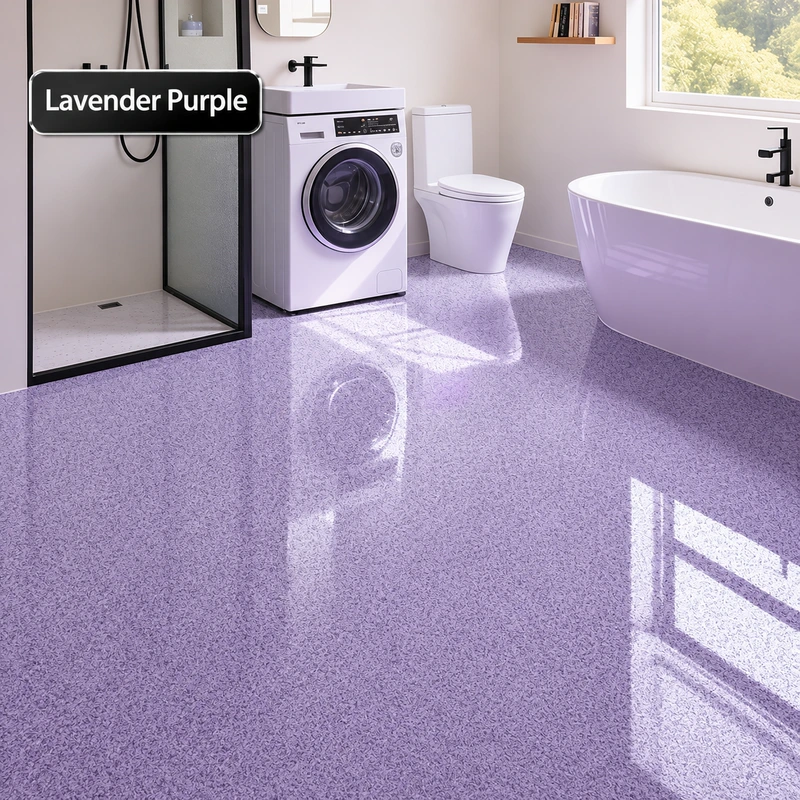
The colour scenes show appearance ideas for shops, cafés, exercise studios, kitchens, bathrooms and other interiors. Select the finish for the actual traffic, cleaning routine and moisture exposure. For outdoor work, confirm the exposure and proposed system before ordering.
Reference specifications
- Material
- Two-component, water-based epoxy coating with decorative coloured aggregate.
- Pack sizes
- 1, 2, 5, 10, 20 and 50 kg; confirm the contents of the matched kit.
- Reference consumption
- Approximately 1.3 kg/m² for the coloured-quartz coating.
- Application window
- Complete application within 20 minutes of mixing.
- Spreading
- Allow approximately 30 seconds of flow, then spread evenly with a squeegee.
- Walking access
- Reference waiting time: 12–16 hours after application.
- Water contact
- Keep the freshly coated floor dry for 7 days.
- Storage
- 12 months in sealed packaging; confirm the supplied product’s storage instructions.
Colour and room references
Compare the illustrated colours on a sample before specifying a whole floor. Lighting, the substrate and screen settings affect the appearance. Use enough material from the same production batch for one continuous area and mix consistently to reduce visible colour differences.
Colour references shown here: Sea Gray, Sesame Gray, White Sand Gray, Sky Blue, Apple Green, Light Blue, Beige, Pink, Lemon Yellow, Multicolor and Lavender Purple.
Product and application gallery
Prepare the substrate and primer
Remove dust, grease, loose material and incompatible old coatings. Repair cracks, hollow areas and uneven spots before applying the coating. Check for rising moisture or condensation; a surface that looks dry may still release moisture from below.
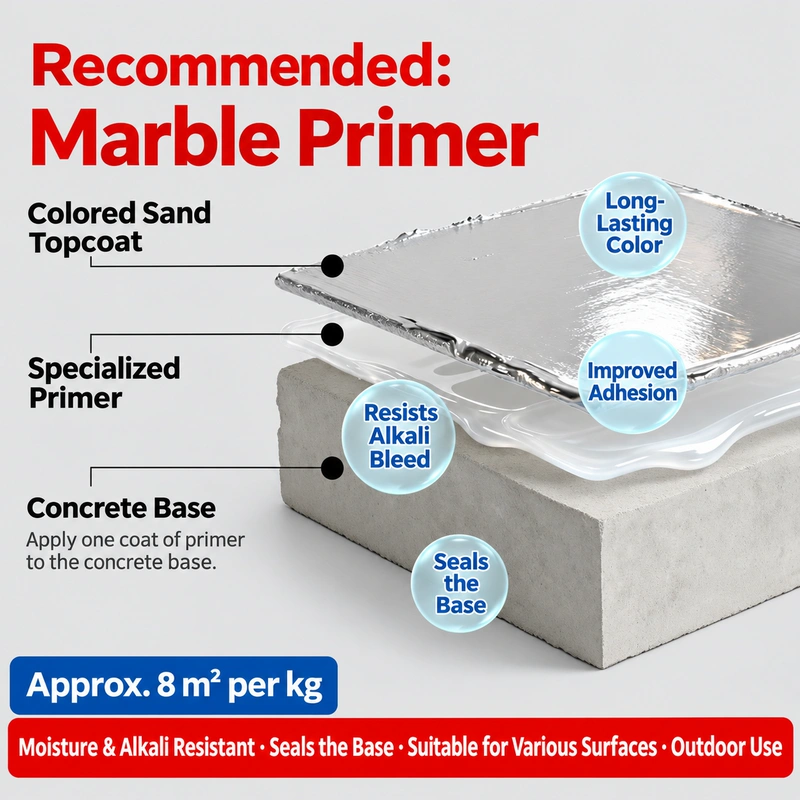
The supplied instructions call for a primer on cement or concrete. Tile and marble still need a sound, clean, dry surface and an adhesion trial; confirm whether a primer is needed for their condition. The primer illustration shows a separate layer with a reference coverage of about 8 m²/kg. This is not the coverage of the coloured-quartz top layer. Select a compatible primer for the substrate and allow it to dry before recoating.
Mix, spread and protect
- 01
Prepare the floor
Clean, repair and dry the substrate. Remove sanding dust, grease and loose material. Check flatness and moisture, and apply the specified primer where required.
- 02
Mix the matched components
Add the supplied hardener to its matching base. Mix thoroughly at low speed, including the bucket sides and bottom. Use the supplied A:B proportion; do not estimate a different ratio or add water, oil paint or other coatings.
- 03
Pour and spread within 20 minutes
After mixing, pour onto the prepared floor. Let the material flow for about 30 seconds and spread it evenly with a squeegee. Organise the work so application is complete within 20 minutes of mixing.
- 04
Release air and protect the finish
Use an appropriate spiked roller where needed to release entrapped air. Avoid rapid mixing, dust, direct airflow and water contamination. Protect the freshly coated area while it dries and cures.
Mix only when the floor, tools and working area are ready. Temperature, substrate conditions and batch size affect handling; confirm the application conditions for the supplied kit and complete a representative trial.
Curing and return to use
The source application guide gives 12–16 hours before walking on the floor and asks that it be kept dry for 7 days. Plan access, cleaning and other trades around this protection period. Walking access does not establish that the floor is ready for heavy traffic or every service condition.
Curing depends on temperature, humidity, substrate and coating thickness. Confirm the actual conditions and opening-to-service schedule with sales. Stop work on wet or condensing surfaces and avoid exposing only part of the fresh floor to strong sun or airflow.
Performance information for your project
The supplied material shows a pencil scratch-hardness result of 8H and a VOC figure of 57 g/L in a report excerpt. Request the complete current report and technical data sheet when these values form part of a purchase specification. The excerpt alone does not establish a slip classification or fire rating.
Tell us about wet traffic, cleaning chemicals, concentrated loads and outdoor exposure. Agree the required tests and evaluate adhesion, colour, texture and cleanability on the actual floor before confirming a larger order.
Application questions
Why do bubbles or pinholes appear?
Porous concrete, cracks and hollow areas can trap air. Mixing too quickly or too long can introduce more air, while heat and strong airflow can cause the surface to skin before that air escapes. Prepare and seal the substrate with a compatible primer. The supplied guide describes slow mixing for about 5–10 minutes, a short 1–2 minute rest and use of a spiked roller. Organise these steps within the 20-minute application limit and follow the instructions for the actual kit.
What causes blisters or peeling?
Moisture rising through the slab, trapped air, oil, dust and incompatible old finishes can weaken the coating system. The source guide identifies concrete that has not completed its 28-day curing period and damp ground-floor or basement slabs as areas needing attention. Check moisture and the condition below the surface; clean and repair the floor and select the moisture-control or primer treatment before coating.
Why can the floor remain sticky or cure unevenly?
An incorrect base-to-hardener ratio or incomplete mixing can leave soft or tacky areas. Use the matching components as supplied, include the bucket sides and bottom when mixing and do not add water or other paints. Do not spread unmixed residue scraped from the bucket onto the floor. Confirm the product instructions before combining material from more than one pack.
How can I reduce patchy colour or whitening?
Keep the floor dry before and after application and check for local moisture or condensation. Avoid uneven sun and shade, strong airflow and very humid application conditions. Plan enough material from one production batch for the whole continuous area, mix consistently and work continuously to minimise visible joins. Check the selected colour and finish on a sample first.
Packaging, samples and supply
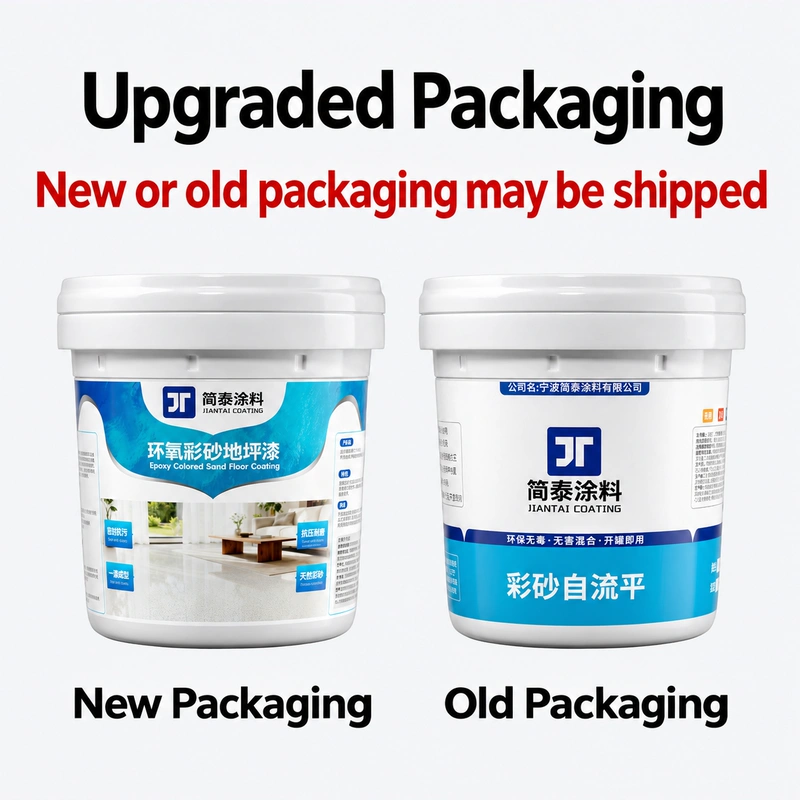
Available pack references are 1, 2, 5, 10, 20 and 50 kg. Confirm the base and hardener supplied together, total net weight, selected colour, batch consistency and current packaging. Earlier and updated pail designs appear in the supplied pictures. Samples are free, with freight paid by the customer. Ask sales to confirm the order quantity, OEM label or packaging needs and dispatch schedule. Typical order lead time is 10–20 days after details are agreed; shipping is additional.
Discuss your floor and request a sample
Send the floor area, substrate, existing finish, colour, indoor or outdoor location and delivery country. Include photographs and any required slip, fire or chemical-resistance specification.
- sales@leadercoat.com
- Phone & WhatsApp
- +86 151 7525 6533
- Sample support
- Free samples. Customer-paid freight.