
Selection & application guide
Hydrophobic Tile Treatments and Slip Performance
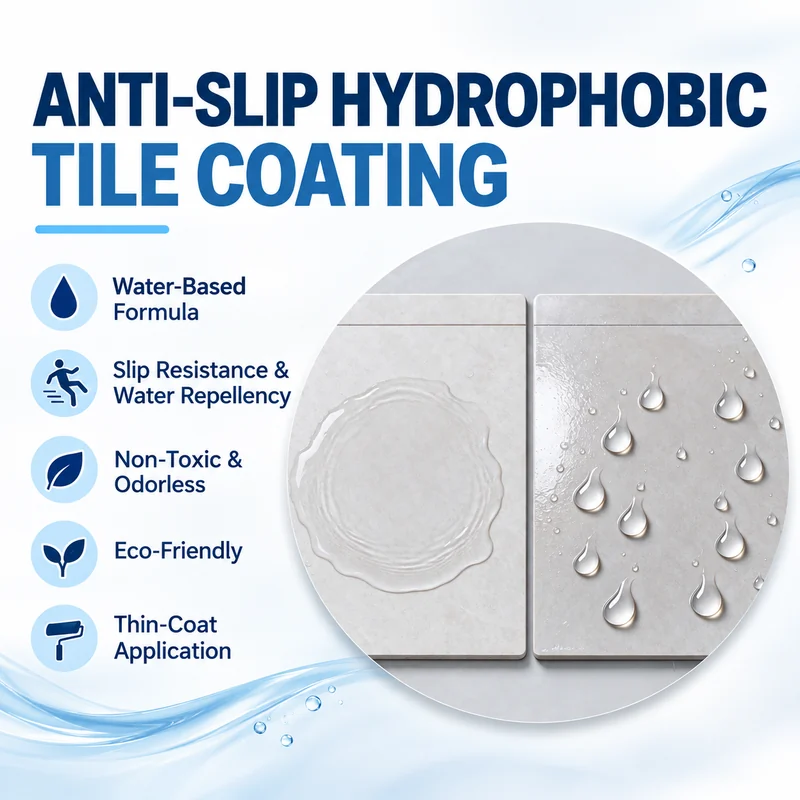
Water repellency and slip performance are separate properties. A tile treatment should be evaluated for the intended floor or wall use, with particular attention to wet conditions, cleaning and the appearance of the original tile.
Identify the tile and the environment
Record whether the tile is glazed, polished, textured or porous. Describe the wet or dry conditions, drainage, footwear and cleaning routine. A bathroom floor, decorative wall and covered entrance can require different evaluations even when they use the same tile.
Assess appearance and application
A clear treatment can still affect gloss or colour. Test on an inconspicuous area and compare it with the untreated surface under normal lighting. Remove contamination and allow the surface to dry before application. Follow the selected product's instructions for coat thickness, residual material and curing.
Measure the property needed for use
Do not use a water-beading image as proof that a walking surface is slip resistant. Where slip performance is part of the requirement, specify the applicable method and evaluate the treated tile under the relevant conditions. Include cleaning and wear where these affect the intended service.
Plan return to service
Keep the surface protected during curing and complete the required appearance and functional checks before reopening the area. The coating is one part of the surface system; drainage, contamination control and maintenance also affect the working environment.
Prepare the enquiry
Send the tile type, photos, treated area, indoor or outdoor location, wet-use conditions and the performance requirement. Include the available downtime and preferred pack size.
A workable application schedule
Stage | Action |
|---|---|
Before coating | Identify the tile, remove grease, scale and residues, and dry the area |
Application | Work at 5–35°C; apply a thin ready-to-use layer without pooling |
About 30 minutes | Wipe residual material with a lint-free cloth |
First 24 hours | Maintain natural ventilation; exclude water, traffic, mopping and handling |
Before reopening | Check the clear finish and complete the required floor-performance assessment |
Extend the curing period in cold or humid conditions and protect exterior work from rain, condensation and strong direct sunlight.
Choose the test conditions that match use
A tile may encounter clean water, detergent residue, oil or other contaminants. Footwear and the surface texture also matter. Define the relevant conditions and the applicable slip-assessment method before comparing samples. Keep an untreated reference where the method requires a comparison. A promotional multiplier without its test method does not establish the result for a different floor.
Inspect more than the centre of the tile
Check joints, edges, low areas and transitions to untreated flooring. Residual pooling can leave a different appearance from a uniformly wiped area. View the cured surface in side lighting for runs, whitening or uneven gloss. Treat any defect before reopening and repeat the relevant inspection after repair. Include drainage and cleaning access when reviewing the whole area.
Maintain the floor after treatment
Use a cleaning routine compatible with the finish and keep contamination from accumulating. Record the application date and inspect frequently used areas for wear or appearance changes. A maintenance trial should include cleaning cycles, because a freshly treated sample does not reproduce repeated use. Before local recoating, clean and dry the surface and check that the overlap does not create a visible or functional change.
Discuss your application
Tell us your surface, application process and quantity. Free samples are available with customer-paid freight.
- sales@leadercoat.com
- Phone & WhatsApp
- +86 151 7525 6533
- Sample support
- Free samples. Customer-paid freight.